
Things you will need:
- 2 Dowel Rods
- Rulers Or Yardstick
- Utility Knives
- Strong String
- Stiff Construction Paper
- X-Acto Knives
- Glues
- Scissors
- Kites
- Ribbons Or Strips Of Cloth
2: Measure each cut piece with a ruler. Mark the shorter, 16-inch piece at half its length and mark the longer, 24-inch piece at a third of its length.
3: Position the two rods at right angles, one on top of the other so that the marks touch. The two rods should form a cross shape.
4: With strong, thin string, bind the two rods together where they meet. Tie a secure knot and cut off excess string.
5: Use a utility knife to cut a small notch into the ends of both rods. These notches will hold the string that gives the kite its shape.
6: Place some string in the notch at the top of the kite frame and wind it around the top of the rod.
7: When the string is well-secured at the top of the rod, draw it tightly around the edge of the frame. Make sure it fits securely into each notch in the rods.
8: When you return to the top of the frame, secure the string by tying its ends together in a tight knot.
9: Place the finished frame on top of a large piece of paper.
10: Using the kite frame as a template, cut the paper with scissors or a utility knife. Leave an excess of about 1/2 inch when cutting around the sections of string.
11: Smear glue along the outside edges of the paper and fold it over so that it encloses the string and secures itself to the paper inside the frame as well. Make sure you use enough glue and spread it evenly enough to attach the paper both to the string and itself.
12: Tie a length of string to each end of the shorter rod. The string should be a bit longer than the rod.
13: Tie another length of string to each end of the longer rod. Again, the string should be a bit longer than the rod.
14: Pick up the two strings with one hand, finding the point at the front of the kite where they overlap. Using a bit of extra string, tie them together. This is the point at which you will attach the kite string when it comes time to fly.
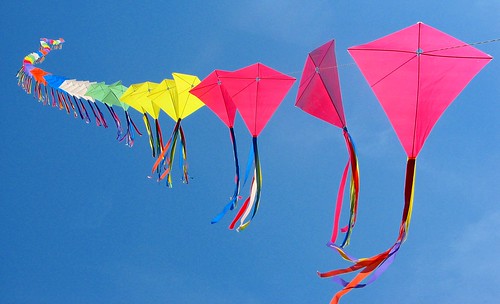
15: To make a tail for your kite, secure several ribbons to the bottom of the kite using strong glue.

No comments:
Post a Comment